ABS on the Voron 2.4: a 35-minute chamber soak removes most of the warping
ABS fails on a Voron for one reason far more often than any other: the chamber is not actually hot when the print starts. This log covers a 120 mm enclosure bracket that lifted 1.4 mm on the first attempt, what the soak time really needs to be, and how far shrink compensation can be pushed before it starts distorting holes.
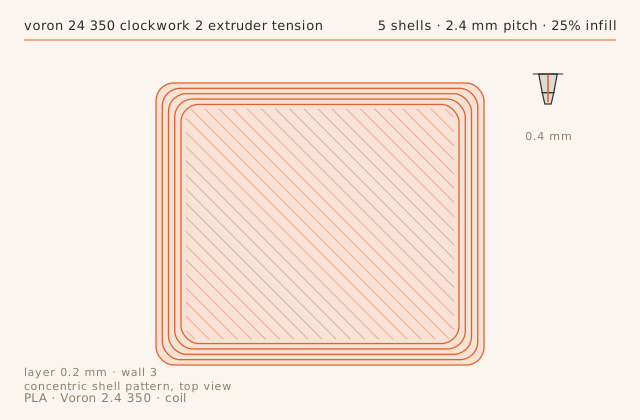
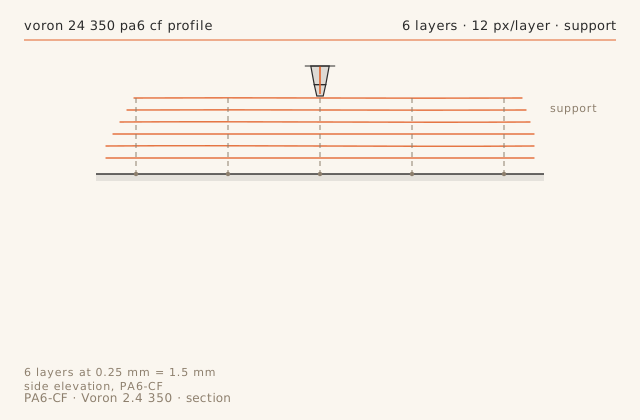
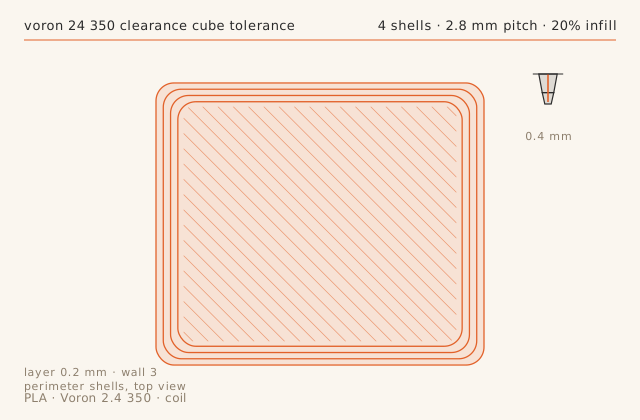
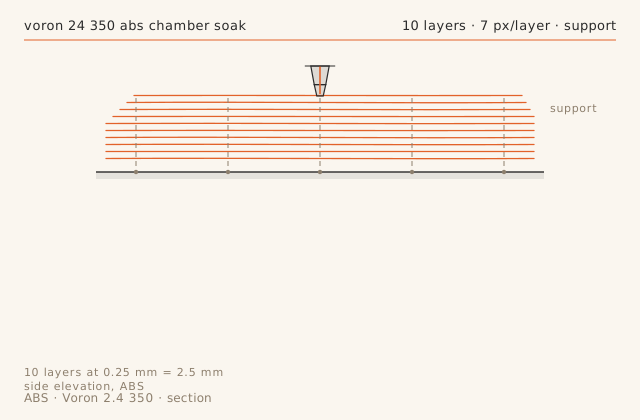
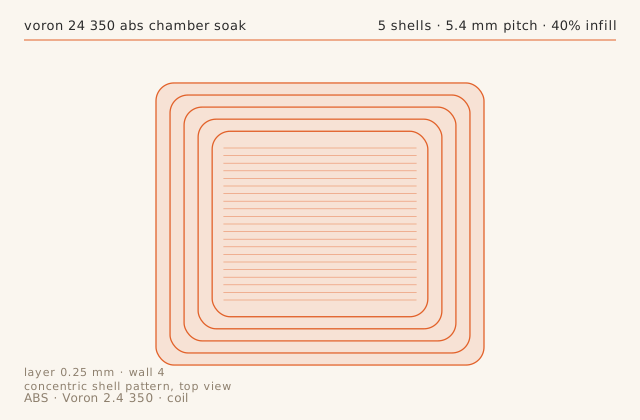
Slice diagramsDrawn from this entry’s own slicer settings.
Print record
- Machine
- Voron 2.4 350
- Material
- ABS
- Nozzle
- 0.4 mm
- Layer height
- 0.25 mm
- Walls
- 4
- Infill
- 40%
- Print time
- 3 h 16 min
- Published
- September 3, 2026
The chamber has to be hot before layer one
Turning on the bed and starting the print immediately gives you a chamber that is still climbing past 35 C at layer 50. ABS bonds best when the air around the part is stable, so the whole first half of the print is being laid down into a moving thermal target. I now heat the bed to 100 C, close the doors, and wait until a chamber thermistor reads 48 to 50 C for three consecutive minutes — 35 minutes in a 350 mm cube with a foam top panel.
That wait costs you half an hour and saves you the print. On the bracket, the same model went from 1.4 mm of corner lift to 0.2 mm with no other change except the soak and dropping part cooling from 80 to 30 percent.
Shrink compensation is a one-number guess, so check it
Slicers offer a single shrink percentage, usually applied uniformly. ABS moves about 0.6 percent, so a 120 mm part loses roughly 0.7 mm in each direction — but the loss is not uniform, because the bottom of the part is held at bed temperature and the top cools freely. My 90 mm bolt-hole pitch came out 89.62 mm, 0.38 mm short, even with compensation set to 99.4 percent.
The practical answer is to compensate holes differently from outer dimensions. Print the outer wall at 100 percent and add 0.2 mm to hole diameters instead, then ream to size. Chasing the last 0.3 mm with a global shrink number will make the outside of the part correct and the holes undersized.
Cooling and delamination trade off against each other
Every percent of part cooling you add helps overhangs and hurts interlayer bonding. For ABS in an enclosure the useful range is 20 to 40 percent, and above 50 percent you will start to see delamination on tall thin walls. I hit it between layers 140 and 155 on a 3 mm wall at 80 percent cooling.
The fix was two-part: drop cooling to 30 percent, and raise the nozzle from 250 to 255 C to widen the window in which the new layer can weld to the previous one. If your hotend cannot hold 255 C with a 0.4 mm nozzle at 120 mm/s, drop the speed first rather than the temperature.
Measure the part warm, not cold
An ABS part taken off the bed and measured immediately reads larger than the same part measured an hour later, because the last 0.3 percent of shrink happens after it leaves the chamber. For anything with a tolerance tighter than 0.3 mm, leave the part on a bench for an hour before measuring, and record the number with a note about how long it rested.
That single habit explained a 0.2 mm discrepancy I spent an evening chasing in the slicer, which turned out to be nothing but measurement timing.
Failure chainWhat went wrong, what was done about it, and what came out the other side.
-
Step 01
Symptom
Front corners of the 120 mm bracket lifted 1.4 mm off the bed by layer 90, with a visible crack along the second perimeter.
Fix
Closed the chamber and let it soak at 50 C for 35 minutes before starting, raised the bed to 100 C, dropped part cooling to 30 percent, and added a 6 mm brim with a 0.15 mm gap.
Result
Lift reduced to 0.2 mm, no crack. The remaining lift is at the corner where the chamber door seal leaks.
-
Step 02
Symptom
Layer delamination between layers 140 and 155 on the tall thin wall.
Fix
The chamber was losing heat through the top panel. Covered the top with a 3 mm foam board and raised the extrusion temperature from 250 to 255 C to widen the interlayer weld window.
Result
Delamination gone. Wall strength noticeably higher when broken by hand.
Dimensional check
- Feature
- 120 mm enclosure bracket, bolt-hole pitch
- Nominal
- 90 mm
- Measured
- 89.62 mm-0.38
- Tolerance
- ± 0.15 mm
- Note
- 0.38 mm short across the pitch. ABS shrinks about 0.6 percent on a 120 mm part; the slicer's shrink compensation was set to 99.4 percent but the part ran cooler than expected on the top half.
Slicer profile
printer_model: Voron 2.4 350
layer_height: 0.25
first_layer_height: 0.30
extruder: Clockwork 2 / Dragon HF 0.4
perimeters: 4
infill: 40% grid
speed: 120 mm/s outer wall 60
accel: 5000 mm/s2
nozzle_temp: 255
bed_temp: 100
chamber: 50 C target, soak 35 min
part_cooling: 30%
pressure_advantage: 0.042
What carried over
- Soak the chamber at 48 to 50 C for at least 30 minutes before layer one on ABS.
- Keep part cooling between 20 and 40 percent; above 50 percent tall thin walls delaminate.
- Compensate holes with a diameter offset, not with a global shrink percentage.
- Let ABS parts rest an hour before measuring; the last shrink happens off the bed.
Verdict
ABS is now the most predictable material on this machine. Soak time is the single largest lever, and a foam top panel is worth more than any slicer tweak.
Also on this machine Voron 2.4 350
-
Print log
A loose extruder latch cost 17 percent of the wall thickness and looked like a slicer problem
Intermittent under-extrusion with no pattern in the preview is almost never a slicer problem. This log is the diagnostic sequence that found it — measure the wall, measure the extrusion force, then adjust one thing at a time — and the narrow window between too loose and too tight on a Clockwork 2.
- MaterialPLA
- Nozzle0.4 mm
- Layer height0.2 mm
- Print time1 h 36 min
- Failure chain2
-
Tune profile
A PA6-CF profile for the Voron 2.4, and the two failures that dominate it
Carbon-filled nylon is the material where preparation matters more than settings. This is the profile that produced three consecutive clean three-hour prints: 285 C, no part cooling, 6 mm3/s, and a dry box on the machine at all times. It also covers the two failure modes that account for almost every bad PA6-CF print.
- MaterialPA6-CF
- Nozzle0.4 mm
- Layer height0.25 mm
- Print time2 h 58 min
- Failure chain2
-
Print log
Clearance coupons: finding this machine's real tolerance in one 64-minute print
Every FDM machine has a minimum clearance below which parts fuse, and it is not in any spec sheet. This log prints a six-clearance coupon, corrects the two slicer compensations that decide the answer, and settles on the numbers to design against on this specific Voron.
- MaterialPLA
- Nozzle0.4 mm
- Layer height0.2 mm
- Print time1 h 4 min
- Failure chain2