A loose extruder latch cost 17 percent of the wall thickness and looked like a slicer problem
Intermittent under-extrusion with no pattern in the preview is almost never a slicer problem. This log is the diagnostic sequence that found it — measure the wall, measure the extrusion force, then adjust one thing at a time — and the narrow window between too loose and too tight on a Clockwork 2.
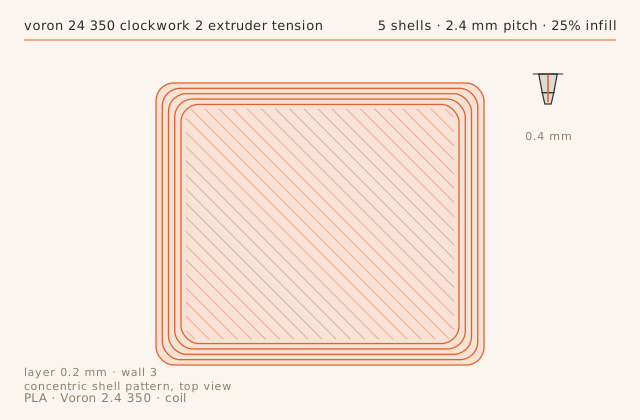
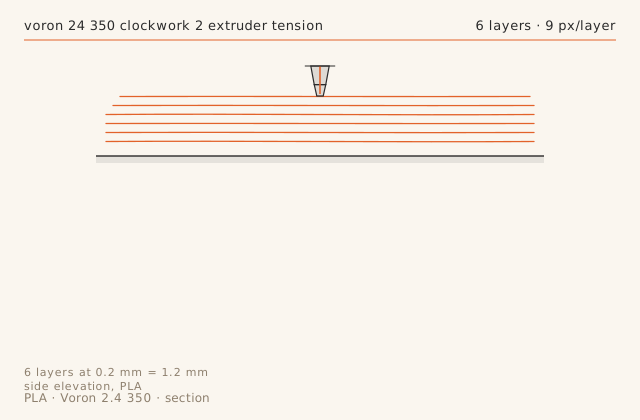
Slice diagramsDrawn from this entry’s own slicer settings.
Print record
- Machine
- Voron 2.4 350
- Material
- PLA
- Nozzle
- 0.4 mm
- Layer height
- 0.2 mm
- Walls
- 3
- Infill
- 25%
- Print time
- 1 h 36 min
- Published
- October 16, 2026
Measure the wall before you touch the flow value
A single-wall flow test at the profile's outer wall speed printed at 0.35 mm against a 0.42 mm target. The instinct is to raise the flow percentage, which would have hidden the symptom and left the real fault in place. Instead, print the wall at three speeds — 40, 90 and 180 mm/s — and look at how the error changes with speed. A flow error is constant across speeds; a grip error gets worse as speed and back-pressure rise.
Mine went from 0.41 mm at 40 mm/s to 0.35 mm at 90 mm/s. That is a grip problem, not a flow problem.
The window on a Clockwork 2 is about half a turn wide
The latch screw has to be somewhere between 'slipping' and 'grinding', and on this extruder that window is roughly half a turn of the screw. Start from the point where the spring first makes contact, then go in one quarter turn at a time, reprinting the same 100 mm wall each time. Three quarters of a turn past first contact was the number that produced no grinding marks and no skipping at 12 mm3/s.
A useful check that needs no tools: pull a 150 mm length of filament out of the extruder after a print and look at it. Flattened and shiny means too tight. Roughened but round means right. Perfectly smooth and original means the extruder was barely gripping it.
Symptoms that follow from a loose latch
Beyond thin walls, a loose latch produces a specific set: intermittent thin patches that appear only in long straight infill runs, a first layer that looks correct while layer five does not, and a printer that seems to 'fix itself' when you slow down. All three are the same fault. None of them point at the extruder, which is why this costs people days.
The other giveaway is grinding without slipping, or slipping without grinding. If you have both at once, the latch is not the problem and you should look at the hobbed gear for packed debris.
Put a mark on it
Once the screw is set correctly, mark the thread with a paint pen so you can see at a glance whether it has moved. Thermal cycling on a chamber that runs at 55 C for nylon will walk a loose screw over a few weeks. The mark costs nothing and turns a two-hour diagnosis into a two-second one.
Re-check the setting whenever you change filament diameter or move to a harder material; the correct grip for 95A TPU is looser than for carbon-filled nylon.
Failure chainWhat went wrong, what was done about it, and what came out the other side.
-
Step 01
Symptom
Occasional under-extrusion on long infill runs, worse on the outer wall at 90 mm/s, with no pattern in the slicer preview.
Fix
Measured the extrusion force by hand: with the latch at the shipped setting the extruder slipped under about 2.5 kg of pull. Tightened the Clockwork 2 latch one full turn past the point where the spring first compressed.
Result
Wall width went from 0.35 to 0.41 mm. The intermittent thin patches stopped entirely.
-
Step 02
Symptom
After tightening, grinding marks appeared on the filament and the extruder skipped during a 12 mm3/s infill run.
Fix
Overtightened. Backed off a quarter turn and re-ran the same gcode.
Result
No grinding, no skipping, wall width held at 0.41 mm. Settled at three quarters of a turn past first contact.
Dimensional check
- Feature
- flow test wall, 0.42 mm target width
- Nominal
- 0.42 mm
- Measured
- 0.35 mm-0.07
- Tolerance
- ± 0.03 mm
- Note
- 0.35 mm measured against a 0.42 mm target is 17 percent under-extrusion. Caused by the extruder latch being one notch too loose, not by a flow setting.
Slicer profile
printer_model: Voron 2.4 350
layer_height: 0.20
perimeters: 3
infill: 25% grid
outer_wall_speed: 90
inner_wall_speed: 180
accel: 7000
nozzle_temp: 215
bed_temp: 60
part_cooling: 100%
pressure_advance: 0.038
max_volumetric_speed: 14 mm3/s
What carried over
- Test the wall at three speeds: a constant error is flow, a speed-dependent error is grip.
- The usable latch window on a Clockwork 2 is about half a turn wide.
- Pull a short length of filament and inspect it — shiny and flattened means too tight.
- Mark the screw with a paint pen so a thermal-cycling drift is visible immediately.
Verdict
Wall width is back to 0.41 mm at 90 mm/s with no intermittent thin patches. The flow value in the profile was left untouched, which is the point.
Also on this machine Voron 2.4 350
-
Tune profile
A PA6-CF profile for the Voron 2.4, and the two failures that dominate it
Carbon-filled nylon is the material where preparation matters more than settings. This is the profile that produced three consecutive clean three-hour prints: 285 C, no part cooling, 6 mm3/s, and a dry box on the machine at all times. It also covers the two failure modes that account for almost every bad PA6-CF print.
- MaterialPA6-CF
- Nozzle0.4 mm
- Layer height0.25 mm
- Print time2 h 58 min
- Failure chain2
-
Print log
Clearance coupons: finding this machine's real tolerance in one 64-minute print
Every FDM machine has a minimum clearance below which parts fuse, and it is not in any spec sheet. This log prints a six-clearance coupon, corrects the two slicer compensations that decide the answer, and settles on the numbers to design against on this specific Voron.
- MaterialPLA
- Nozzle0.4 mm
- Layer height0.2 mm
- Print time1 h 4 min
- Failure chain2
-
Print log
0.6 mm nozzle, 0.4 mm layers: what vase mode really costs you
A 0.6 mm nozzle on a Voron turns a 96 mm vase into an 87-minute print, but it also changes the failure modes. This log covers the seam artifacts that come from running a long-melt-path nozzle at high volumetric speed, and the one region of the model where cooling has to be handled differently.
- MaterialPETG
- Nozzle0.6 mm
- Layer height0.4 mm
- Print time1 h 27 min
- Failure chain2