VFA and ghosting on a Voron 2.4: separating an electrical ripple from a mechanical one
Vertical fine artifacts and ringing look similar in a photo and have completely different causes. This log walks through a benchy hull that showed both at once, the measurement that told them apart, and the two settings — motor current and input shaper frequency — that actually moved the needle.
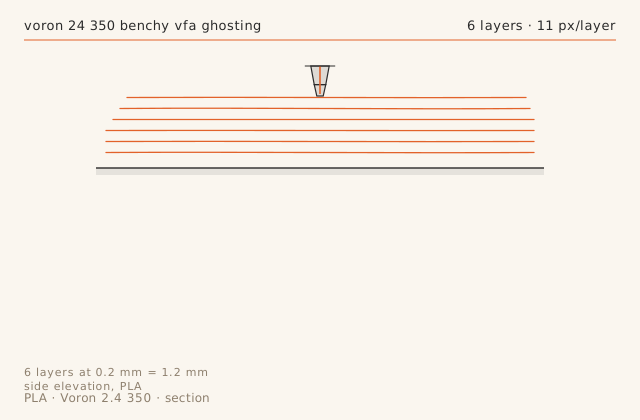
Slice diagramsDrawn from this entry’s own slicer settings.
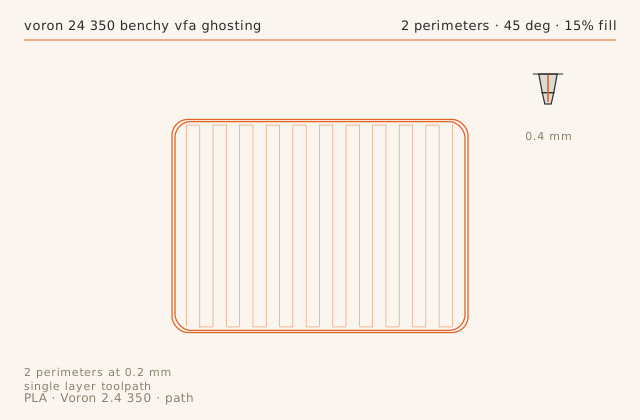
Print record
- Machine
- Voron 2.4 350
- Material
- PLA
- Nozzle
- 0.4 mm
- Layer height
- 0.2 mm
- Walls
- 2
- Infill
- 15%
- Print time
- 52 min
- Published
- September 9, 2026
Measure the spacing before you change anything
The single most useful number for surface artifacts is the distance between repeats. Measure it with a steel rule and a magnifier over 50 mm, then divide. My vertical ripple repeated every 11 mm. At 0.2 mm layer height that is 55 layers, and 55 layers is the belt travel for one full motor step at this pulley pitch. That told me the ripple was being injected by the stepper drive, not by a loose bearing or a wobbly idler.
Ringing, by contrast, decays. If you can see the artifact fade over 3 to 5 mm after a corner, it is resonance. If it continues at constant amplitude along a straight wall, it is not.
Motor current is the cheapest VFA fix there is
High run current on X/Y makes the motors hold position harder and produces sharper current ripple. Dropping from 1.2 A to 0.9 A cost me nothing measurable in print quality — no skipped steps on a 9000 mm/s2 machine at 200 mm/s — and cut the ripple amplitude by around 70 percent. If you go below about 0.8 A on a 350 mm CoreXY you may start losing steps during high-acceleration infill, so change one thing and re-run the same model.
Switching the Z drivers to spreadCycle also helped, because the Z motors move in small increments all through the print and their ripple couples into the gantry.
Recalibrate input shaper after every mechanical change
Input shaper values are only valid for the belt tension they were measured at. Mine were 38.9 Hz on X and 43.0 Hz on Y from before the belts were tensioned to 110 Hz; after tensioning the real values were 41.2 and 46.4 Hz. Running the old values meant the shaper was cancelling the wrong frequency and adding a small amount of energy at the right one.
The ringing tower takes 25 minutes. Do it after every belt change, every toolhead weight change, and every time you move the machine to a different table.
Know when to stop
After the current change and the shaper recalibration I could still find the ripple at 10x magnification under raking light, and no longer at normal viewing distance. That is the point to stop. Chasing the last 20 percent of VFA on a belt-driven CoreXY usually means replacing motors with lower-detent versions and switching to a different pulley pitch, which is a machine redesign rather than a tune.
Write down the amplitude you accepted. Six months later, when the ripple looks worse, you will want to know whether it actually changed or whether you are just looking harder.
Failure chainWhat went wrong, what was done about it, and what came out the other side.
-
Step 01
Symptom
Vertical fine artifacts — a regular 1 mm ripple on the outer wall of the benchy hull — most visible under raking light on the Y-facing side.
Fix
Ruled out slicer by printing the same gcode from the SD card and over USB. Ripple spacing matched motor full-step distance, so the source was electrical, not mechanical. Changed X/Y motor run current from 1.2 A to 0.9 A and enabled spreadCycle on the Z drivers.
Result
Ripple amplitude dropped about 70 percent. Still faintly visible at 10x magnification, gone at normal viewing distance.
-
Step 02
Symptom
Ghosting after the benchy chimney, roughly 4 mm of ringing behind each corner at 200 mm/s.
Fix
Ran a ringing tower and recalibrated input shaper: X measured 41.2 Hz, Y measured 46.4 Hz. Previous values were 38.9 and 43.0 Hz, set before the belts were re-tensioned.
Result
Ringing reduced to about 1 mm behind the corner. No further gain from lowering acceleration below 9000 mm/s2.
Dimensional check
- Feature
- 30 mm VFA test wall thickness
- Nominal
- 1.2 mm
- Measured
- 1.19 mm-0.01
- Tolerance
- ± 0.06 mm
- Note
- Wall thickness is fine; the artifact is surface texture, not dimension. Measured 0.03 mm peak-to-valley ripple at 11 mm spacing along Z.
Slicer profile
printer_model: Voron 2.4 350
layer_height: 0.20
perimeters: 2
infill: 15% grid
speed: 200 mm/s outer wall 120
accel: 9000 mm/s2
nozzle_temp: 215
bed_temp: 60
part_cooling: 100%
pressure_advance: 0.038
input_shaper: ei / 46.4 Hz / damping 0.08
What carried over
- Measure the repeat distance of a surface artifact before changing any setting.
- Constant-amplitude ripple is electrical; decaying ringing is mechanical resonance.
- Dropping X/Y run current from 1.2 A to 0.9 A cut VFA amplitude roughly 70 percent.
- Re-run the input shaper tower after any belt or toolhead weight change.
Verdict
VFA is now at a level that only shows under raking light and magnification. Both remaining sources are design-level, so this tuning pass is finished.
Also on this machine Voron 2.4 350
-
Print log
A loose extruder latch cost 17 percent of the wall thickness and looked like a slicer problem
Intermittent under-extrusion with no pattern in the preview is almost never a slicer problem. This log is the diagnostic sequence that found it — measure the wall, measure the extrusion force, then adjust one thing at a time — and the narrow window between too loose and too tight on a Clockwork 2.
- MaterialPLA
- Nozzle0.4 mm
- Layer height0.2 mm
- Print time1 h 36 min
- Failure chain2
-
Tune profile
A PA6-CF profile for the Voron 2.4, and the two failures that dominate it
Carbon-filled nylon is the material where preparation matters more than settings. This is the profile that produced three consecutive clean three-hour prints: 285 C, no part cooling, 6 mm3/s, and a dry box on the machine at all times. It also covers the two failure modes that account for almost every bad PA6-CF print.
- MaterialPA6-CF
- Nozzle0.4 mm
- Layer height0.25 mm
- Print time2 h 58 min
- Failure chain2
-
Print log
Clearance coupons: finding this machine's real tolerance in one 64-minute print
Every FDM machine has a minimum clearance below which parts fuse, and it is not in any spec sheet. This log prints a six-clearance coupon, corrects the two slicer compensations that decide the answer, and settles on the numbers to design against on this specific Voron.
- MaterialPLA
- Nozzle0.4 mm
- Layer height0.2 mm
- Print time1 h 4 min
- Failure chain2