MMU3 colour changes: purge volume matters more than anything else in the profile
Multi-colour printing on the MK4 fails in two ways — dirty transitions and dragged strings — and both are purge and ramming problems rather than model or slicer problems. This log covers a 13-change 60 mm plaque, the purge volume that finally produced clean boundaries, and the 9 seconds each ramming cycle costs.
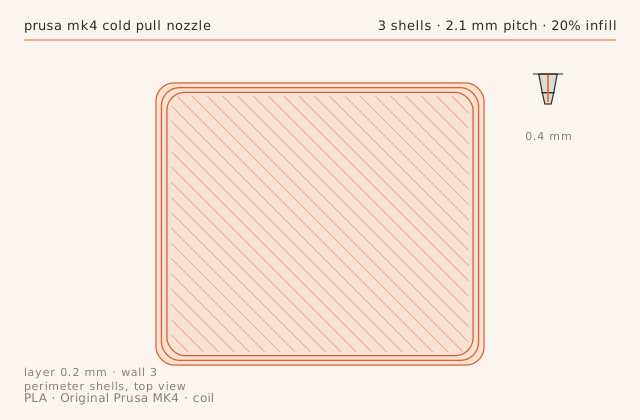
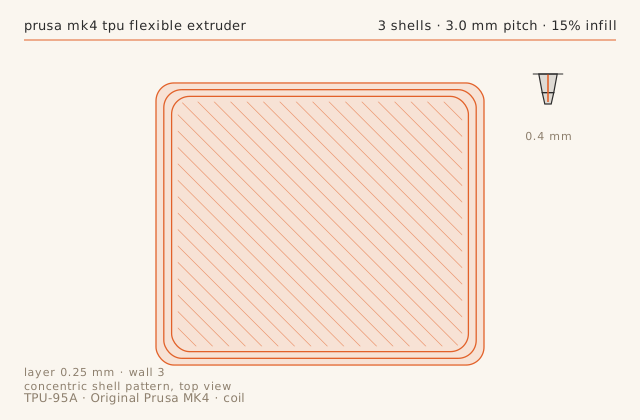
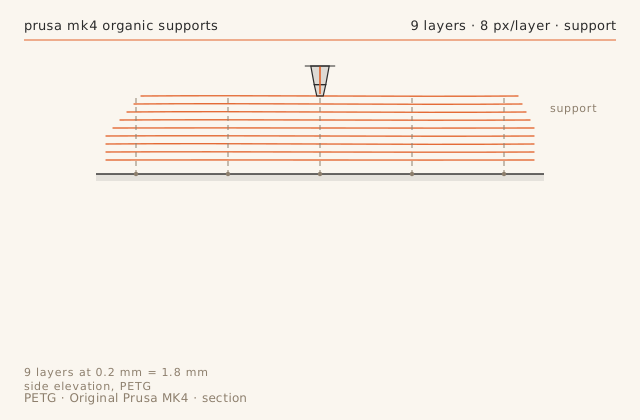
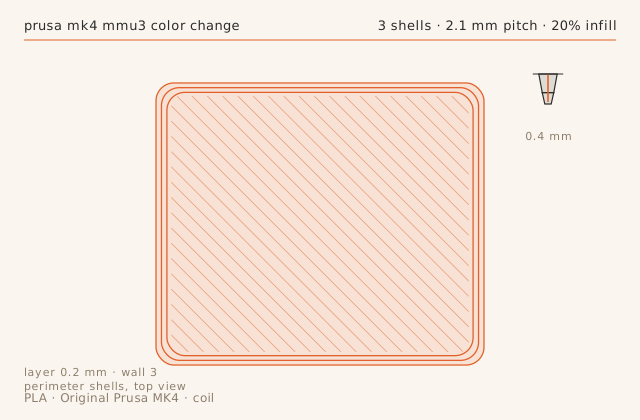
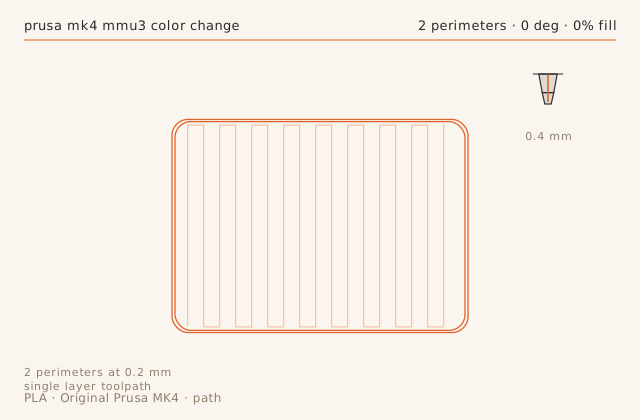
Slice diagramsDrawn from this entry’s own slicer settings.
Print record
- Machine
- Original Prusa MK4
- Material
- PLA
- Nozzle
- 0.4 mm
- Layer height
- 0.2 mm
- Walls
- 3
- Infill
- 20%
- Print time
- 3 h 56 min
- Published
- October 5, 2026
Find the real purge volume by measuring, not by copying
Purge volume is hotend-specific, and copying a number from someone else's profile is how you get smeared transitions. The reliable method is to print a small plaque with a single colour change, measure how many layers of the old colour remain at the boundary, and scale up. At 60 mm3 this hotend left visible old colour across about three layers; 95 mm3 reduced it to under one.
Once the volume is right, purge-to-infill recovers most of the waste on a part that has infill to hide it in. Do not enable it for the first two changes, because the first purge of a print is always the dirtiest.
Ramming is what stops the string
The long string dragged across the top surface after change 5 was not a retraction problem — it was the nozzle leaving the wipe tower with a molten tail. Increasing ramming from 3 to 5 cycles and dropping the ramming temperature by 10 C fixed it. The cooler tip breaks the tail instead of stretching it.
This costs about 9 seconds per change. On a 13-change print that is under two minutes, which is cheap compared to a part with a 4 cm scar across its face.
Accept a one-layer colour boundary offset
The boundary on this plaque lands 0.18 mm below the modelled line. This is not a calibration error; it is the volume of the old colour still sitting in the melt zone when the new colour begins to flow. On a 0.2 mm layer height it is about one layer. Design boundaries with that in mind — put them on a feature edge, not in the middle of a flat face.
If the boundary has to be exact, the only reliable approach is to split the model into two parts and glue them, which is a different job.
Time cost per change
A 60 mm plaque with 13 colour changes took 3 hours 56 minutes, against roughly 55 minutes in a single colour. That is about 14 minutes per change once ramming, purging and the extra travel to the wipe tower are counted. Batch colour changes into as few transitions as the design allows, and use the purge-to-infill trick to keep the tower small.
The MMU3 is a tool for printing a two-colour part well, not for printing a photograph.
Failure chainWhat went wrong, what was done about it, and what came out the other side.
-
Step 01
Symptom
Blobs of the previous colour smeared into the first ten layers of the new one at every change.
Fix
Purge volume was 60 mm3, which is not enough for this hotend. Raised to 95 mm3 and enabled purge-to-infill for changes after the first two, so later purges go into the part instead of the wipe tower.
Result
Clean colour boundaries. Purge tower mass went up about 30 percent on the first two changes and down overall.
-
Step 02
Symptom
A 4 cm long string of molten filament dragged across the top surface after change 5.
Fix
Toolchange ramming cycles were at the default of 3. Increased to 5 and lowered the ramming temperature by 10 C so the tip was cooler when it left the nozzle.
Result
No dragging on the remaining 8 changes. Ramming adds about 9 seconds per change.
Dimensional check
- Feature
- colour boundary position on a 60 mm plaque
- Nominal
- 30 mm
- Measured
- 29.82 mm-0.18
- Tolerance
- ± 0.25 mm
- Note
- The boundary sits 0.18 mm low because the last 0.18 mm of the previous colour is still in the melt zone when the new colour starts. Not correctable, only predictable.
Slicer profile
printer_model: Original Prusa MK4 0.4 + MMU3
layer_height: 0.20
perimeters: 3
infill: 20% grid
speed: 120 mm/s outer wall 70
accel: 4000 mm/s2
nozzle_temp: 215
bed_temp: 60
part_cooling: 100%
pressure_advance: 0.035
purge_volume: 95 mm3 between colours
purge_to_infill: off for the first two changes
toolchange_ramming: default profile, 3 ram cycles
What carried over
- Raise purge volume to 95 mm3 for this hotend; 60 mm3 smears old colour across three layers.
- Enable purge-to-infill after the first two changes to cut wipe tower mass.
- Increase ramming to 5 cycles and lower the ramming temperature 10 C to stop dragged strings.
- Budget about 14 minutes per colour change including ramming, purge and tower travel.
Verdict
MMU3 colour changes are now clean and repeatable at a real cost of 14 minutes each. Worth it for two-colour parts, not for anything with more than about twenty transitions.
Also on this machine Original Prusa MK4
-
Print log
Cold pulls on a Nextruder: three pulls, and the pitting that looked like under-extrusion
Surface pitting with correct wall dimensions is not a flow problem, it is contamination. This log covers the cold pull procedure that works on a MK4's Nextruder nozzle, why the temperature matters more than the method, and the purging step after it that most people skip.
- MaterialPLA
- Nozzle0.4 mm
- Layer height0.2 mm
- Print time1 h 1 min
- Failure chain2
-
Print log
TPU 95A on a direct-drive MK4: 3 hours 25 minutes for a part that takes 50 in PLA
Flexible filament on a direct-drive printer is not hard, it is slow, and the failure mode is always the same — the filament buckles between the gears and the melt zone. This log covers the two settings that prevent it, why flexible parts need deliberate over-extrusion, and how long it really takes.
- MaterialTPU-95A
- Nozzle0.4 mm
- Layer height0.25 mm
- Print time3 h 25 min
- Failure chain2
-
Print log
Organic supports on the MK4: the z-gap that works for PETG is not the one that works for PLA
Tree supports look like a solved problem until the material changes. PETG welds to itself across a 0.15 mm gap, so the standard PLA clearance fuses the support to the part. This log covers the gap and interface settings that make PETG supports break away by hand, and the stability fix that stopped a tall tree from falling over.
- MaterialPETG
- Nozzle0.4 mm
- Layer height0.2 mm
- Print time2 h 52 min
- Failure chain2